Acrylic sheets have become increasingly popular in various DIY and professional projects due to their versatility and durability. Whether you’re a seasoned crafter or a beginner, knowing the best techniques for cutting acrylic with precision is essential. In this ultimate guide, we’ll explore different methods, tools, and tips to help you achieve flawless acrylic cuts every time. So, let’s dive into the art of cutting acrylic and unleash your creativity!
Table of Contents
Mastering the Art of Laser Cutting Acrylic
Understanding the Basics of Laser Cutting Technology
One of the most precise and efficient methods for cutting acrylic is laser cutting. Laser cutting employs the use of a high-powered laser beam to melt or vaporize the acrylic, resulting in neat and accurate cuts. The beam is controlled by a computer, allowing for intricate designs and shapes.
But what makes laser cutting so popular? Well, it offers unmatched precision, allowing you to create intricate patterns and designs with ease. It also produces smooth edges, eliminating the need for extensive sanding or finishing. So, if you desire flawless and professional-looking acrylic cuts, laser cutting might be the way to go.
When the laser beam interacts with the acrylic, it heats the material to its melting point or vaporizes it entirely. This process is known as laser ablation. The focused laser beam can cut through acrylic with incredible accuracy, leaving behind clean and precise edges.
Moreover, laser cutting is a non-contact process, meaning that the laser beam does not physically touch the acrylic. This eliminates the risk of material deformation or damage during the cutting process. It also allows for the creation of intricate and delicate designs that would be difficult to achieve with traditional cutting methods.
Furthermore, laser cutting is a versatile technique that can be used on various thicknesses of acrylic. Whether you are working with thin sheets or thick blocks, laser cutting can deliver consistent and high-quality results.
Choosing the Right Laser Cutter for Acrylic Projects
Having the right laser cutter is crucial for achieving perfection in your acrylic cutting projects. When selecting a laser cutter, consider the power output, cutting bed size, and the materials it can handle. It’s worth mentioning that acrylic requires a specific power range for clean cuts, typically between 40-120 watts.
Additionally, look for a laser cutter with a sturdy frame and a reliable cooling system. A robust frame ensures stability during the cutting process, minimizing vibrations that could affect the precision of the cuts. A reliable cooling system is essential to prevent the laser cutter from overheating, which can lead to subpar results or even damage to the machine.
Investing in a high-quality laser cutter not only guarantees precise cuts but also ensures a longer lifespan for the machine. A well-maintained laser cutter can serve you for years, providing consistent and reliable performance.
Furthermore, consider the software compatibility of the laser cutter. Look for a machine that is compatible with popular design software, such as Adobe Illustrator or CorelDRAW. This compatibility will make the design process seamless and efficient.
Lastly, don’t forget to consider the size of the cutting bed. The cutting bed should be large enough to accommodate your acrylic sheets comfortably. Choosing a laser cutter with a spacious cutting bed allows you to work on larger projects without any limitations.
By carefully considering these factors, you can select the perfect laser cutter for your acrylic projects, ensuring precise and professional results every time.
Exploring Alternative Methods for Cutting Acrylic
The Versatility of a Scoring Knife for Acrylic Cutting
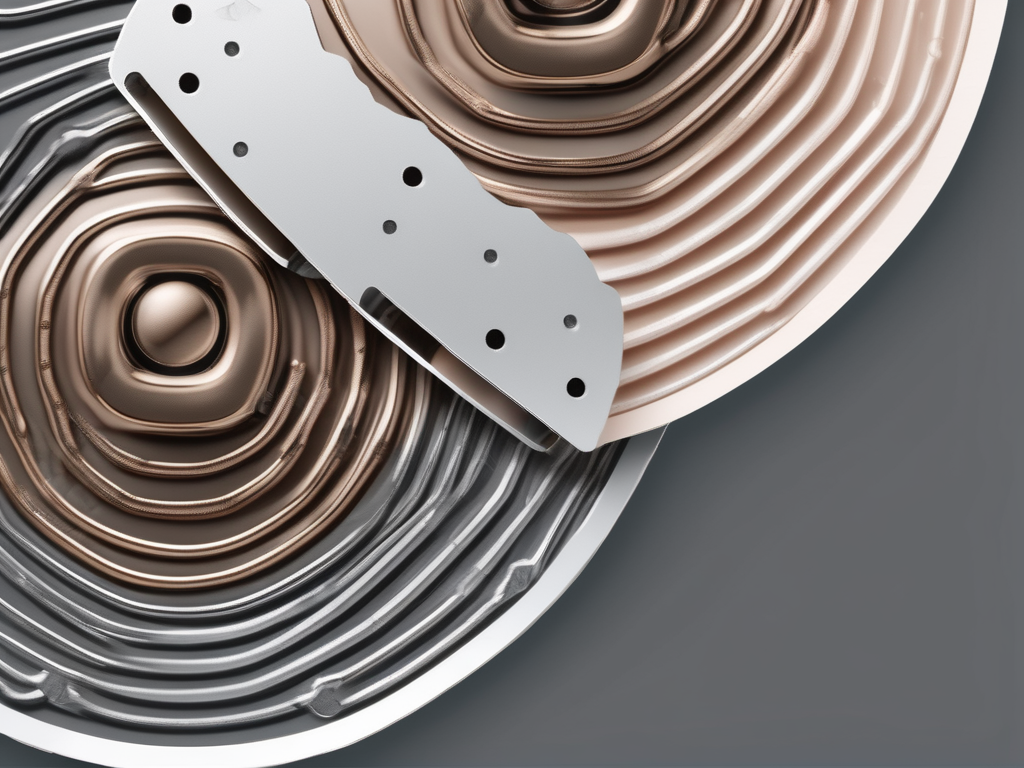
If you’re on a budget or prefer a more hands-on approach, a scoring knife can be a great alternative for cutting acrylic. A scoring knife consists of a sharp blade held at a shallow angle, allowing you to score the acrylic’s surface multiple times until it snaps along the scored line.
This method is ideal for straight cuts or simple shapes. However, keep in mind that it may not be suitable for intricate designs or curves. Patience and practice are key to mastering the art of using a scoring knife for acrylic cutting.
Achieving Precision Cuts with a Jigsaw or Coping Saw
For more complex shapes and curves, a jigsaw or coping saw can come to the rescue. These versatile tools allow you to maneuver through the acrylic, delivering precise cuts.
When using a jigsaw or coping saw, it’s essential to select the appropriate blade. Fine-toothed blades with a high tooth count are ideal for acrylic cutting. Remember to maintain a steady hand and proceed with slow, even strokes to ensure a clean cut.
Harnessing the Power of a Bandsaw for Acrylic Cutting
When it comes to cutting thick acrylic sheets or making long straight cuts, a bandsaw is your best friend. With its continuous blade and ability to handle larger pieces of material, a bandsaw provides excellent control and precision.
When using a bandsaw for acrylic cutting, it’s vital to choose a blade specifically designed for cutting plastics. This will minimize splintering and ensure smooth edges. Take your time and let the saw do the work, guiding the acrylic sheet along the blade for consistent and accurate cuts.
Using a Table Saw for Straight and Accurate Acrylic Cuts
If you want clean, straight cuts on large acrylic sheets, a table saw is a powerful tool to consider. The robust motor, adjustable fence, and smooth table surface make it ideal for achieving precise and effortless cuts.
When working with a table saw, it’s crucial to maintain safety precautions. Wear goggles and gloves, and use a zero-clearance insert or a stabilizer to prevent the acrylic from chipping or moving during the cut. Always feed the material steadily and avoid rushing the process.
Proven Techniques for Cutting Acrylic Without Breaks or Cracks
Proper Blade Selection for Clean Acrylic Cuts
Having the right blade for your cutting tool is vital to prevent breaks or cracks in acrylic. When using a saw, choose a blade specifically designed for cutting plastics, featuring fine teeth and carbide tips. This reduces the chances of melting or chipping the acrylic and ensures smooth and clean cuts.
Reducing Friction and Heat During the Cutting Process
Friction and heat can greatly affect the outcome of your acrylic cuts. To minimize these unwanted effects, consider using cutting lubricants, such as beeswax or silicone spray. Apply the lubricant on the blade before cutting to reduce friction and prevent the acrylic from melting or sticking to the blade.
Additionally, cutting at a slower speed can help reduce heat buildup. Remember, patience is key when cutting acrylic. Rushing the process can lead to subpar results.
Minimizing Stress on the Acrylic Sheet for Crack-Free Cuts
Acrylic is prone to cracking if not handled properly during the cutting process. To prevent cracks, support the acrylic sheet adequately with clamps or a sturdy work surface. This ensures that the material remains flat and stable, reducing the chances of stress-induced cracks.
Moreover, take breaks between cuts to give the acrylic time to cool down and avoid buildup of internal stresses. This simple practice can significantly improve the quality of your cuts and the overall durability of your acrylic projects.
Perfecting the Finish on Your Acrylic Cut Parts
Essential Steps for Smoothing Acrylic Edges with Sandpaper
After cutting acrylic, you may notice rough or uneven edges. To achieve a polished and professional finish, sanding is necessary. Start with a coarse-grit sandpaper and gradually work your way up to a fine-grit sandpaper for a smoother result.
Hold the sandpaper firmly and move it in a circular motion along the edges of the acrylic sheet. Remember to keep the sheet at a 45-degree angle during sanding to avoid scratching the surface. Rinse the acrylic with water afterward to remove any fine particles and dry it with a soft cloth for a pristine finish.
Achieving a Flawless Finish by Removing Saw Marks
Saw marks can mar the appearance of your acrylic cuts, but fear not – they can be easily eliminated. An effective method is using a flame polisher or a handheld torch to gently heat the saw marks until they melt and blend with the rest of the acrylic surface.
Be cautious when using this method and keep the flame at a safe distance to prevent overheating or melting the acrylic. Practice on a scrap piece first to familiarize yourself with the technique. Once you have removed the saw marks, use sandpaper as mentioned earlier to achieve a smooth and flawless finish.
Polishing and Buffing Techniques for a Professional Look
To add that extra touch of elegance to your acrylic projects, consider polishing and buffing the surface. Acrylic polishing compounds or specific acrylic polishing kits are readily available. Apply the compound or polish with a soft cloth or buffer pad, using circular motions until a glossy finish is achieved.
Remember to clean the acrylic thoroughly after polishing to remove any residue. Voila! Your acrylic cuts are now ready to impress.
Now that you have the ultimate guide to cutting acrylic sheets with precision, it’s time to let your imagination run wild. Whether you’re creating intricate designs with laser cutting or opting for more traditional methods, mastering the art of cutting acrylic is within your reach. So, embrace the versatility of this remarkable material and embark on your acrylic cutting journey today!